Wednesday, May 18, 2011

… And Today I Learned Something Cool About OpenSSL

Maybe most of you reading this knew this but I have to admit that I did not. I was reading the WEB SECURITY TESTING COOKBOOK by Paco Hope and Ben Walther and came across a snippet of code where they show that you can use openssl to generate a Base64-encoded blob of data.

I did not know that you could do this with OpenSSL. I also didn’t know that it could do a lot more than that in the encoding/decoding realm.

Check it out:

Decoding a Base64-encoded string


This is why I love using Linux when testing systems. A simple command line can be used over and over again to perform various tasks. Multi-use is key here.

So, let’s say you come across a Base64-encoded blob of data and you want to decode it. Sure, there are plenty of online decoders out there.

Let’s say the blob of data is:

QWRtaW5pc3RyYXRvcjpwYXNzd2QK

Let’s decode this using openssl:

user@host:~#  echo “QWRtaW5pc3RyYXRvcjpwYXNzd2QK” | openssl base64 –d

What do you get?

“Administrator:passwd”

Congratulations! You’ve successfully decoded a username/password pair.

Encoding a Base64-encoded string

Now, let’s say you wanted to be able to manipulate a base64-encoded blob of data and substitute your own information into it. This would entail you encoding your data for insertion. OpenSSL helps there, too.

Let’s say, instead of the username/password pair we discovered up above, we wanted to somehow include our own in that blob of data. Let’s say we wanted to take “Charlie:Winning” into the blob and we need to base64-encode it.

Our data:

“Charlie:Winning”

Encoding it:

user@host:~#  echo “Charlie:Winning” | openssl base64 –e

It will return the following:

Q2hhcmxpZTpXaW5uaW5nCg

We can then paste this into wherever we’re using that base64-encoded data and we’re ready to rock.

Generating  Hashes

Now, let’s say you wanted to be able to generate an MD5 hash of a value, for use in web testing. If you had a value (let’s say “Charlie:Winning” again … ) and you needed to calculate an MD5 hash of that value to append to a string being submitted to a web server, you can accomplish this with OpenSSL, as well.

Generating  an MD5 Hash

Our value:

“Charlie:Winning”

Our command to generate an MD5 hash from it:

user@host:~#  echo “Charlie:Winning” | openssl dgst –md5

The result:

428a9b9b18360150aadfe3480189a1f8

Generating  a SHA-1 Hash

You can use the same command, changing the digest being used (from –md5 to –sha1) to generate a SHA-1 hash.

Our value:

“Charlie:Winning”

Our command to generate an MD5 hash from it:

user@host:~#  echo “Charlie:Winning” | openssl dgst –sha1

The result:

23d7fc7c0819c20d0e83d88bb142537e8f87cc6c

Conclusion

OpenSSL has a thousand different uses and you should try to become as familiar with it as you can. I never realized how many cool things it can do and was always looking around for different tools to perform all these functions above.

Now I know I don’t need all those tools. I’ve got one tool that handles all of that for me.

Sunday, May 15, 2011

Information Gathering using NMAP (and other tools)


That's right. You read that correctly. NMAP, the world's leading port scanner and one of the few tools that should be in every single tester's toolkit, can help you determine a lot of information regarding a target. Host discovery, my friends. NMAP can help you discover lots of information about the hosts on the outward-facing interfaces of a network.


And it does all this without touching the hosts in question.

That's right. You can perform lots of recon with nmap without slinging a single packet at the target hosts.

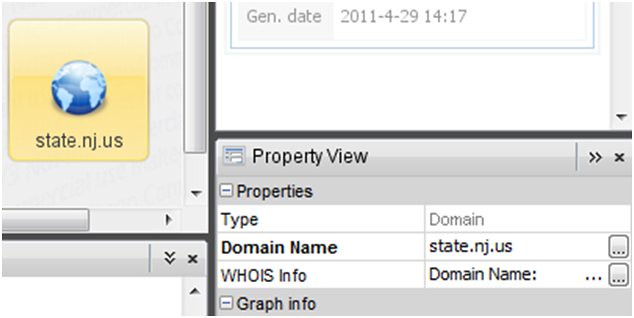
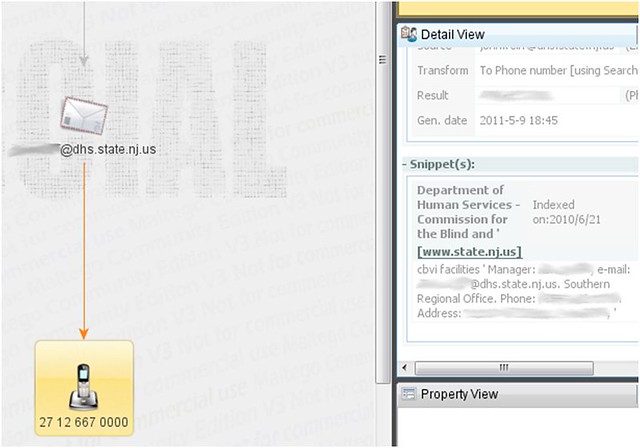
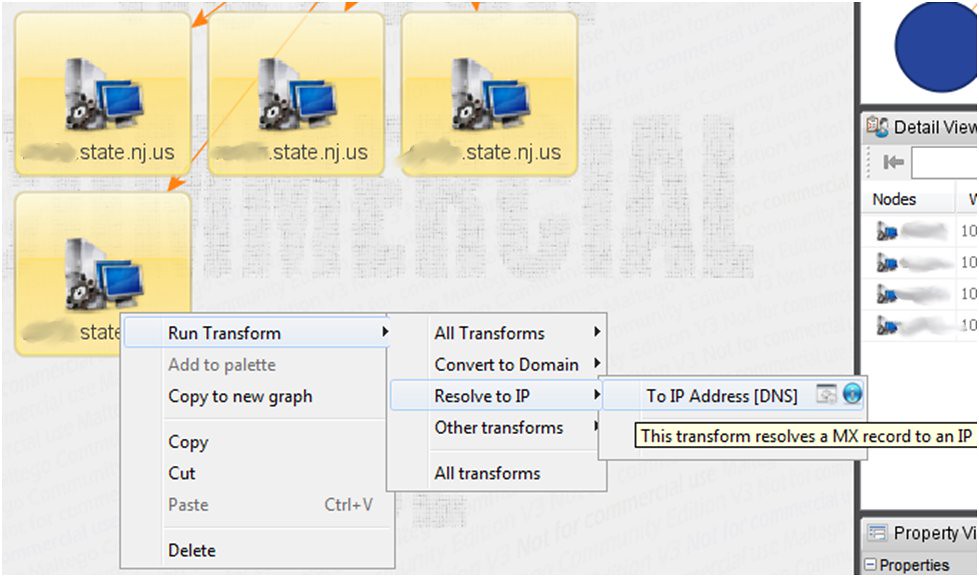
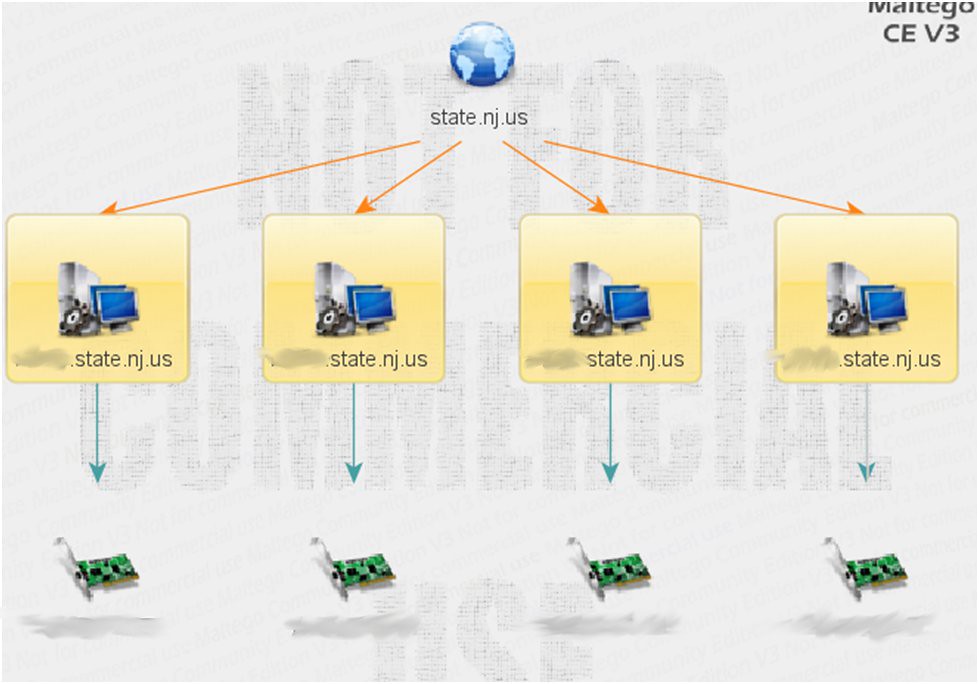
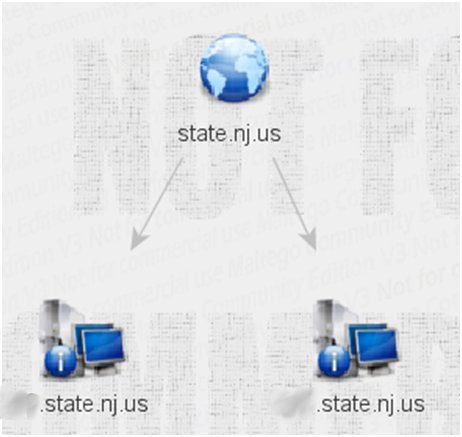
Previously, we've discussed using Maltego to determine host information (IP's, owner information, etc). Now we're going to do the same from the command line (and do it a might bit quicker, too). But first a little history ...

Setting the Wayback Machine to 199x


The Internet runs mainly because a service, provided by Domain Name System (DNS), translates “friendly names” (like “www.google.com”) to IP addresses (74.125.91.106) and then routes packets around networks until they reach the proper destination. Kind of in the way a phone book translates a “friendly name” like “Bob Smith” to his phone number (212) 555-1212, so you can call him.

Now, that's an overly simplified depiction of the situation, but it works for the purposes of background to our nmap story.

DNS Records

DNS is a fairly easy system to follow along with, even if you're fairly new to Information Technology. DNS simply holds and retrieves records about specific servers in your network range. Typically, it holds the following types of records:

  1. MX Record – Mail Exchange Record – this record indicates what servers are designated as your mail servers
  2. NS Record – Name Server Record – this record indicates what servers are designated as your DNS servers (typically open for UDP 53, at the very least)
  3. A Record – Address Record – this record maps a domain name (or sub-domain name) to an Ipv4 address
  4. AAAA Record – Address Record – this record maps a domain name (or sub-domain name) to an Ipv6 address
  5. SOA Record – Start of Authority Record – defines global parameters for a zone (domain) – it can define what server is your primary name server (DNS server)
  6. CNAME Record – Canonical Name Record – defines a server's canonical name, rather than any of the aliases it may have within the domain
  7. PTR Record – Pointer Record – provides information for Reverse DNS (see below) – also, has become an “authoritative” way to determine spammers around the Internet
  8. SRV Record – Service – provides information for specific services, such as SIP and XMPP (that's right, Jabber/GTalk). For some in-depth information on SRV records and their structure, please take a look at: http://en.wikipedia.org/wiki/SRV_record
Interesting note: MX and SRV records must point to an address record (A or AAAA record) .
Reverse DNS

Reverse DNS performs the exact same service, only in reverse. Reverse DNS lookups (rDNS) determines the domain name (“friendly name”) that is associated with a given IP address.


Using Nslookup

For years, nslookup was the defacto standard tool with which to interact with DNS servers and glean information. However, in recent years, this has been shown to be a flawed tool with problematic results. A detailed write up can be found here (
http://homepage.ntlworld.com/jonathan.deboynepollard/FGA/nslookup-flaws.html) , but the long and short of it is that:

  1. nslookup performs hidden queries
    If you are trying to perform reconnaissance work, you want to be as quiet as possible. By performing hidden queries, nslookup is not exactly a “quiet” utility. In fact, it's rather noisy.
  2. nslookup uses its own internal DNS client
    Also when performing recon work, you want to ensure the data you're getting in return is accurate. When put up against standard DNS utils, it has been found that nslookup's returned data was inaccurate. This means that, in the long run, you can't really and truly trust what you're seeing from nslookup.

What, then, is a poor pen tester to do?

Use “dig” and “host”, of course. (And nmap, too)

Using host
For in-depth guidance on how to use host, check out their man page here: http://linux.die.net/man/1/host
But let's say, for just a moment, that you wanted to use the “host” command to query a zone for all the name server (ns) records. You would want to use the following command:

host -t ns domain

and let's say you also wanted to query for all the mail server records (mx)

host -t mx domain

and let's say you wanted to … well, you get the idea, right? Just pass a “-t” parameter and use the abbreviation for the type of record you want to retrieve.

host -t srv domain

will provide you with all the SRV records for the domain or sub-domain.

So, for an example, I ran the host query against ISC.org (the CISSP organization):

user@host:~$ host -t mx isc.org
isc.org mail is handled by 10 mx.ams1.isc.org.
isc.org mail is handled by 10 mx.pao1.isc.org.

and then I wanted to find their name servers:

user@host:~$ host -t ns isc.org
isc.org name server ns.isc.afilias-nst.info.
isc.org name server ams.sns-pb.isc.org.
isc.org name server ord.sns-pb.isc.org.
isc.org name server sfba.sns-pb.isc.org.

As you can see from the above, you can very quickly begin to piece together your target hostnames from using the information displayed from these commands.

Now, if you want to perform a zone transfer (with host, you can use any one of a number of utils to do this) and grab all the records for yourself, then what you want to do is the following:

host -l domain or host -l -v -t any domain

Both of these will attempt a zone transfer and give you all the host records or all the
records (as a whole) for the zone

Using dig
dig has a lot of switches and parameters you can use to customize its output, but for some in-depth guidance, you can check out dig's man page here: http://linux.die.net/man/1/dig

However, it is most important for you to remember to add on the “+answer” to any dig lookup.

For instance, let's say we wanted to use the dig command to find information about the MX records for “isc.org”. We would want to issue the following query:

dig isc.org MX +answer

This will print out the following output:

user@host:~$ dig isc.org MX +answer
; <<>> DiG 9.7.3 <<>> isc.org MX +answer
;; global options: +cmd
;; Got answer:
;; ->>HEADER<<- opcode: QUERY, status: NOERROR, id: 43599
;; flags: qr rd ra; QUERY: 1, ANSWER: 2, AUTHORITY: 0, ADDITIONAL: 0
;; QUESTION SECTION:
;isc.org. IN MX
;; ANSWER SECTION:
isc.org. 7200 IN MX 10 mx.pao1.isc.org.
isc.org. 7200 IN MX 10 mx.ams1.isc.org.
;; Query time: 87 msec
;; SERVER: 167.206.245.129#53(167.206.245.129)
;; WHEN: Sun May 15 09:35:31 2011
;; MSG SIZE rcvd: 73


A lot of stuff to sort through, I know! However, if you step back a bit and just take it one piece at a time, you can sort through this easily.

First off: there's a lot of comments. And those comments can be trimmed out by passing dig the “+nocomments” parameter. That would get rid of this part of the output:

; <<>> DiG 9.7.3 <<>> isc.org MX +answer
;; global options: +cmd
;; Got answer:
;; ->>HEADER<<- opcode: QUERY, status: NOERROR, id: 43599
;; flags: qr rd ra; QUERY: 1, ANSWER: 2, AUTHORITY: 0, ADDITIONAL: 0

Then, you probably want to get rid of that last section as well the part that reads like this:

;; Query time: 87 msec
;; SERVER: 167.206.245.129#53(167.206.245.129)
;; WHEN: Sun May 15 09:35:31 2011
;; MSG SIZE rcvd: 73

This is the “stats” section and can be trimmed from the output of your dig command by passing dig the “+nostats” parameter.

So, really, if we wanted to boil the dig output down to something fairly easy to read we would issue the following command:

dig isc.org MX +nocomments +answer +nostats

and get back:

; <<>> DiG 9.7.3 <<>> isc.org MX +nocomments +answer +nostats
;; global options: +cmd
;isc.org. IN MX
isc.org. 7200 IN MX 10 mx.ams1.isc.org.
isc.org. 7200 IN MX 10 mx.pao1.isc.org.

Easy peasy, no? We now get back very useful output.
We see our query:
;isc.org. IN MX

and the answers we wanted:
isc.org. 7200 IN MX 10 mx.ams1.isc.org.
isc.org. 7200 IN MX 10 mx.pao1.isc.org.

Dig can be useful and helpful to a pen tester and can even be used to perform a zone transfer, as well. And we all know what happens if you successfully transfer the zone? Right, you get all the host records for a domain. And what protocol does that use on port 53? Right, TCP. Where most queries use UDP, Zone Transfers use TCP.


Using nmap (with other tools) for Information Gathering
Most of us know that nmap is the most awesome port scanner on the planet. So awesome (read: useful) that there is no other I use. I know, I know. There's utilities like “amap” and “LANguard” and a slew of others. I get it. Just like the different editions of the STAR WARS movies, they all have their uses. However, if you're done preaching religious differences (yes, Han shot first, we all know that), let's all settle down, take our seats and talk about the only port scanner that matters: nmap.

Yes, you can use it to perform a wide array of scans and perform host discovery through active scanning.

However, you might not know that you can use nmap to perform list scanning, which never touches the target box. This kind of scan helps you, the pen tester, in gathering information about a target.

You can start by using “host” and “dig” to get an initial set of hosts/IPs to begin your data mining.

So, using the examples above, we know the following:
QUERY: dig isc.org MX +nocomments +answer +nostats


ANSWER: isc.org. 7200 IN MX 10 mx.pao1.isc.org.

So, we can then further “dig” for:

QUERY: dig mx.pao1.isc.org +nocomments +answer +nostats

ANSWER: mx.pao1.isc.org. 3600 IN A 149.20.64.53

So, now we have an IP address. Using the “whois” command, we can determine the network block of IP's that this server is contained in.

QUERY: whois 149.20.64.53

ANWER: user@host:~$ whois 149.20.64.53
#
# Query terms are ambiguous. The query is assumed to be:
# "n 149.20.64.53"
#
# Use "?" to get help.
#
#
# The following results may also be obtained via:
# http://whois.arin.net/rest/nets;q=149.20.64.53?showDetails=true&showARIN=false
#
NetRange: 149.20.0.0 - 149.20.255.255
CIDR: 149.20.0.0/16
OriginAS:
NetName: ISC-NET3
NetHandle: NET-149-20-0-0-1
Parent: NET-149-0-0-0-0


We now know that isc.org owns 149.20.0.0 – 149.20.255.255 or in CIDR notation 149.20.0.0/16.

We can use this particular information to feed into nmap and have nmap perform a reverse DNS lookup. This reverse DNS lookup will determine what IP's are useful to use to start active scanning (if that is what we wish). Or we can use the information gleaned from nmap to start doing targeted queries of ports.

A list scan is an unobtrusive way to gather information to help you choose individual machines for targeting later.

So, let's use nmap now to perform a list scan of isc.org.

user@host:~$ nmap -sL isc.org/16

Starting Nmap 5.21 ( http://nmap.org ) at 2011-05-15 10:44 EDT
Nmap scan report for test-test-test.isc.org (149.20.64.1)
Nmap scan report for res1.sjc3.isc.org (149.20.64.2)
Nmap scan report for sfba.sns-pb.isc.org (149.20.64.3)
Nmap scan report for dlv.sfba.sns-pb.isc.org (149.20.64.4)
Nmap scan report for 149.20.64.5
Nmap scan report for 149.20.64.6
Nmap scan report for 149.20.64.19
Nmap scan report for bind.odvr.dns-oarc.net (149.20.64.20)
Nmap scan report for unbound.odvr.dns-oarc.net (149.20.64.21)
Nmap scan report for iana-testbed.odvr.dns-oarc.net (149.20.64.22)
Nmap scan report for 149.20.64.23
Nmap scan report for 149.20.64.24
Nmap scan report for sie.isc.org (149.20.64.25)
Nmap scan report for tools.isc.org (149.20.64.26)
Nmap scan report for zfa.sie.isc.org (149.20.64.27)
Nmap scan report for 149.20.64.28
Nmap scan report for 149.20.64.29
Nmap scan report for 149.20.64.30


So, as you can see, nmap has performed rDNS lookups on a number of hosts in the range and we now know a lot more hostnames than we did before. Now, we can start to infer uses and other information from the host names.

CONCLUSION
By using a combination of some simple tools, we, the pen tester, can quickly produce information about a target network that will become useful to us for more targeted attacks. If there's a point where you are hired to perform a pen test and the customer wants you to have absolutely zero information beforehand, these techniques are extremely useful for getting a starting point.

Monday, May 9, 2011

Information Gathering with Maltego CE

We’ve been delving rather deeply into reconnaissance tools lately and I wanted to cover at least one last one before moving on to the next phase of a pen test, “Scanning”.

Maltego CE (CE for Community Edition, this means “free”) is an absolutely fantastic tool for performing reconnaissance work on any object you can think of: person, organization, etc.


 INSTALLING MALTEGO COMMUNITY EDITION


First, you need to download and install Maltego from the www.paterva.com web site. Now, if you’re running Windows, then you’ll have two choices: pick the “EXE+java” option if you don’t already have a Java Runtime Environment (JRE) installed on your machine. If you do, pick the “EXE” (only) option. You can determine if you already have a JRE installed by opening a command prompt and you get a response back when you type “java” and hit “Enter”.


If you’re running Ubuntu or Backtrack, you’ll want to install the “deb” version onto your machine (Ubuntu/Debian and Backtrack all install .deb files). Same checks above apply for Linux to determine if you have Java already installed.


Next, fire up Maltego and login to the Community Server.


Step 1. You’ll be prompted to login to the Community Server. Create an account or login with one you’ve already created.

Step 2. Then, you will be presented with a blank canvas for you to start mining data with. Maltego is not the most intuitive interface but once you learn how it works, it becomes rather easy to navigate, so let’s go over the basics here and you’ll soon be mastering it on your own.


INTRODUCTORY DATA MINING WITH MALTEGO

For our first example, let’s say we wanted to find the phone number of an employee of a certain company. First, we’ve got to become familiar with Maltego’s palette of “entities” we can use to search for information on the Internet. This palette is located on the left side of the screen and is divided up into 2 sections: “Infrastructure” up top and “Personal” down bottom. These are all the different types of entities we can have Maltego go mining data for.

So, if we wanted to find EMPLOYEE INFORMATION for a particular domain, we’d start with the “domain” entity under the “Infrastructure” section of the Palette to start searching data. Why? Because we’re going to use this entity to specify the web domain (usually of the target company) we’d like to find Employee Information about.

MINING DATA FOR EMPLOYEE INFORMATION

Step 1. Click on the “Domain” entity and drag it to the canvas in the middle of the screen. You will be presented with a Domain entity on the canvas, prepopulated with “paterva.com” in it. However, this is a default entity and you will need to fill in some information for Maltego to start mining data. Click on the entity to highlight it.

You will see it change from this:


To this:


Now, you need to modify the “Domain Name” property of this object to make sure you are searching for employees/MX Records/etc for YOUR TARGET web site. So, on the very right-hand side of the screen, towards the bottom, you will see the “Property View” box. In it, you will find the “Domain Name” property of the “Domain” entity you created. Click in the value side (where you see “paterva.com”) and change it to your target.


For our example, we’ll stick to a public-facing, public service web site, like “state.nj.us”.


Step 2. Now, right-click on the domain entity and follow the menu system thusly:

Run Transforms à All Transforms à To Email Addresses [Using Search Engine]

This will now start searching the Internet for any and all email addresses that are associated with that domain. From here, once enumerated, you can run transforms on the email entities to dig even further and find more information.
For example,

Step 3. Right-click on an email address that Maltego found and follow the menu system thusly:

Run Transforms à All Transforms à To Phone Number [Using Search Engine]

Important Note:
Once I ran this transform on my sample data, Maltego’s mining of search engine data turned up a wrong number associated with my email. HOWEVER, by reviewing the “Detail View” snippet on the right-side of the screen, I was able to call up the specific web page, review it and find the exact number I did, in fact, want to use. So, you can’t always trust initial data from tools such as these. However, if used judiciously, you can get the targeted information you want.


ENUMERATING MAIL SERVERS WITH MALTEGO

Now, let’s look up some information that would be important to us when running a pen test or security assessment: We’ll look up their mail servers (MX records in DNS) and their name servers (DNS).

Right-click on the “Domain” entity on the canvas and navigate the menus like so:

Run Transform à DNS from Domain à To DNS Name – MX (mail server)


Maltego will begin to search their DNS records for the mail servers that are designated for this domain. After it has completed its survey, you should be presented with something that looks like this:


Once you’ve collected that information, you can run transforms on those entities as well. For instance, you can click, drag and highlight all those mail servers and then right-click and navigate the menu system like so:
Run Transform à Resolve to IP à To IP Address [DNS]


You will then be presented with information like the following:


Congratulations! You now have assets that you can use in your next phase of testing: “Scanning”.

ENUMERATING NETBLOCKS AND IP ADDRESSES WITH MALTEGO

Let’s take a look at the target’s name servers and see what kind of information we can glean from them (through reconnaissance)  that we can use in “Scanning”.

Some more information that would be important to us would be the IP blocks (or blocks of network addresses ) that the target manages. Getting those IP’s would be useful, if we are not provided them prior to our engagement. 

Right-click on the “Domain” entity on the canvas and navigate the menus like so:

Run Transform à DNS from Domain à To DNS Name – NS (name server)

After Maltego runs and collects the information for you, it presents it to the users thusly:


Once you have the nameservers on the canvas, you can then run transforms on them to collect information (data mine). For instance, one really useful transform you can run on the name servers is collecting the netblocks that have been delegated to those name servers.

To collect information like this, highlight the nameservers, right-click and navigate the menus to:

Run Transform
à Info from NS à To Netblock 


This will display the blocks of IP addresses delegated to those nameservers. If these blocks are too big, you can run another transform on them to cut down on the amount of information displayed. The menu navigation to do this is:

Run Transform à All Transforms à Netblock to Netblock

You will be promted for a size to display. I usually pick something fairly middle-of-the-road, like “125” or “250” and that will bring things down to a manageable form.

Once you have a good-sized chunk of data (Netblocks), you can run the “To IP Address” transform on it to convert those blocks of IP Addresses down to single IP’s. This will make it easier for you to dig for other information on those IPs.

Running that transform on the Netblocks results in something that will look like this:


Congratulations! You’ve now gone and enumerated all the IP’s in that space.
Now you can use that to translate it to machine and owner information.

CONCLUSION
Maltego is much more powerful than this, however, and can take a few weeks to really master its intricacies. I highly recommend that you practice using this tool to perfect (and streamline) your reconnaissance skills.